Thursday, July 30, 2015

Sensory Bucket!

I love sensory buckets! Having a little one, we use them quite often! We have filled them with all sorts of things, but last week, we did birdseed! 

I filled it with things we could hide and all kinds of different tools to scoop the birdseed out. 


How does this relate to your classroom, you ask??
Well, my little one and I hid things in it and it got me thinking of all the things I could hide in it and have my students find. You could do:
~letters 
~numbers
~addition/subtraction problems/word problems
~sight words
~ and so much more!
Perfect fun for recess or an outside lesson!
Then, you could watch the birds eat the birdseed later and turn it into a science lesson! :) 

What would you do with this sensory bucket in your classroom??

Monday, July 27, 2015

Book Study: Weeky 3 (Pre-A and Emergent Guided Reading)

It is week #3 of the #GuidedReadingGals book study on The Next Steps in Guided Reading by Jan Richardson!!! 


This week, Marie over at The Literacy Spot and Julie from Big Ideas for Little Hands are blogging about Chapter 3: Pre-A and Emergent Guided Reading! Marie is blogging about the Pre-A Lesson, while Julie will tell you all about Emergent Guided Reading!  Go check out their blogs for more in depth posts about this chapter! 

I love this chapter for all the activity ideas she gives for Pre-A readers. Here are my three favorites!
(Unfortunately, all my materials for these are at school and the floors are being cleaned so I'm having to create the pictures...but hopefully you still get the idea!)

Name Puzzles (p.64)
I love this idea because you can tailor it to the students' ability levels. You start easy- write their name on cardstock and cut it into two puzzle pieces.
Then, once students have mastered putting two pieces together, you cut another letter apart. Jan Richardson also suggests you ask them questions about their name: How many O's are in your name? What is this letter? 
What a great, easy to make and do activity!

Picture Sorts (p.68)
Do you have this book?
(Sorry for the terrible picture- my copy is at school!!)
There are so many new and updated versions of Words Their Way but I still have this one from college...let's not discuss how long ago that was, please ;) Anyway, if you don't have a copy of this book or a newer version of this book, I highly suggest you go get one. One thing Jan Richardson mentions in her book is the use of picture sorts (p.68) and these Words Their Way books have pages of pictures and words for sorts. Copy the pictures, cut them out, put them in baggies, give students a piece of construction paper and the letters/pictures you want them to sort, and have them sort away!

I also liked to use the pictures to make this beginning sound activity. Students either write the letter on the blank or drag a letter cube to the correct spot. Then, they see what word it spells!

Cut Up Sentences (p.71)
Cut up sentences are another one of my favorite easy to make and do activities. Write a sentence with your students. After the sentence is finished, cut the sentence apart. Then, have them work together or independently to put the sentence back together. 

There is so much more in this chapter regarding Pre-A Level students. I highly suggest you head over and read Marie's blog post on it!!

Once students have mastered the Pre-A Level, they are ready to begin Emergent Guided Reading Lessons. Jan Richardson gives in depth descriptions of what an Emergent Guided Reading Lesson looks like on pages 86-97. Julie did a great job discussing text selection, sound boxes, and guided writing in her post so head on over there, too! 

One thing that I have used a lot with my emergent guided readers is my Reading Strategies Smartboard LessonsThese are great whole group activities to introduce and practice using guided reading lessons. 


***Don't forget to check out Marie's blog post about the Pre-A Lesson....

....and Julie's post about Emergent Guided Reading!  


Check out each week of the book study by clicking the links below!

Sunday, July 26, 2015

Guided Reading Lesson Planning

When I taught in the classroom, I always ended up planning my guided reading lessons at home but was so frustrated with all the things I needed to take with me- my notebook, my guided reading books, the reading standards, word study and writing resources, TRC question stems, higher order questions, and more! One summer, I sat down and compiled everything I needed to plan my lessons into this Guided Reading Tips and Tricks flip chart

It stays inside my guided reading notebook at all times so now I just bring my notebook and my guided reading books with me when I need to plan. I use it when planning guided reading lessons and also refer to it when teaching my guided reading lessons.  

The first section is all about scoring running records. I refer to this while doing and scoring my daily running record because it has all the error symbols, a fluency and comprehension scoring rubric, anecdotal note examples, a section about determining whether the student is using M (meaning), S (structure) or V (visual) and it tells how to score the running record.


The next section is Sight Words/Vocabulary/Language Structure. I refer to this section when planning my guided reading lessons. It gives me a few ideas for teaching sight words and vocabulary, as well as a brief paragraph about when to discuss the language structure in a book.  


This is one of my favorite sections to refer to while actually teaching my guided reading lessons. Have your students ever gotten stuck on a word and you just couldn't think of the right advice to give them?? This section has different prompts you can give your students to help them decode a word independently!


The next section has teaching points which are also helpful to refer to when planning and teaching the lesson. These teaching points help guide your lesson. Look at your anecdotal notes and then pick the teaching point you want to focus on. For example, are your students only using meaning to decode unknown words? The sentence reads: I am putting on my coat. But, your student says jacket instead of coat. You would want to focus on visual cues- get your mouth ready for the first sound. This way, your student could combine both meaning and visual cues to get the word correct. This section gives you multiple teaching points you can use to address student needs. 


I use this next section, Higher Order Questioning, when planning my lessons. I always make sure to include at least one higher order question a day. 


The next section gives you several Word Study strategies. This section is also very helpful when planning your guided reading lesson!


Do you use Read 3D testing? This section has question stems for each reading level. I pick at least one question for students to provide a written answer for each week. 


The next section is all about Guided Writing. It gives several writing activities that you could use with your students. 


Finally, the last section contains all the ELA Common Core Standards for grades K-2. 

The best part of this flip chart is that it fits this Free Guided Reading Lesson Plan Template! The flip chart is in the same order as this lesson plan format which makes for quick and easy guided reading planning!


If you need an easy to use resource for guided reading make sure you check out this
Guided Reading Tips and Tricks Flip Chart.....


....and download the Free Guided Reading Lesson Plan Template that goes with it!


Friday, July 24, 2015

Guided Reading Notebook

Here is a look inside my guided reading notebook!

I always keep my Guided Reading Tips and Tricks flip chart in the outside pocket. I use it to help with planning and during guided reading groups to help with running record scoring and teaching points. Read more about it here!

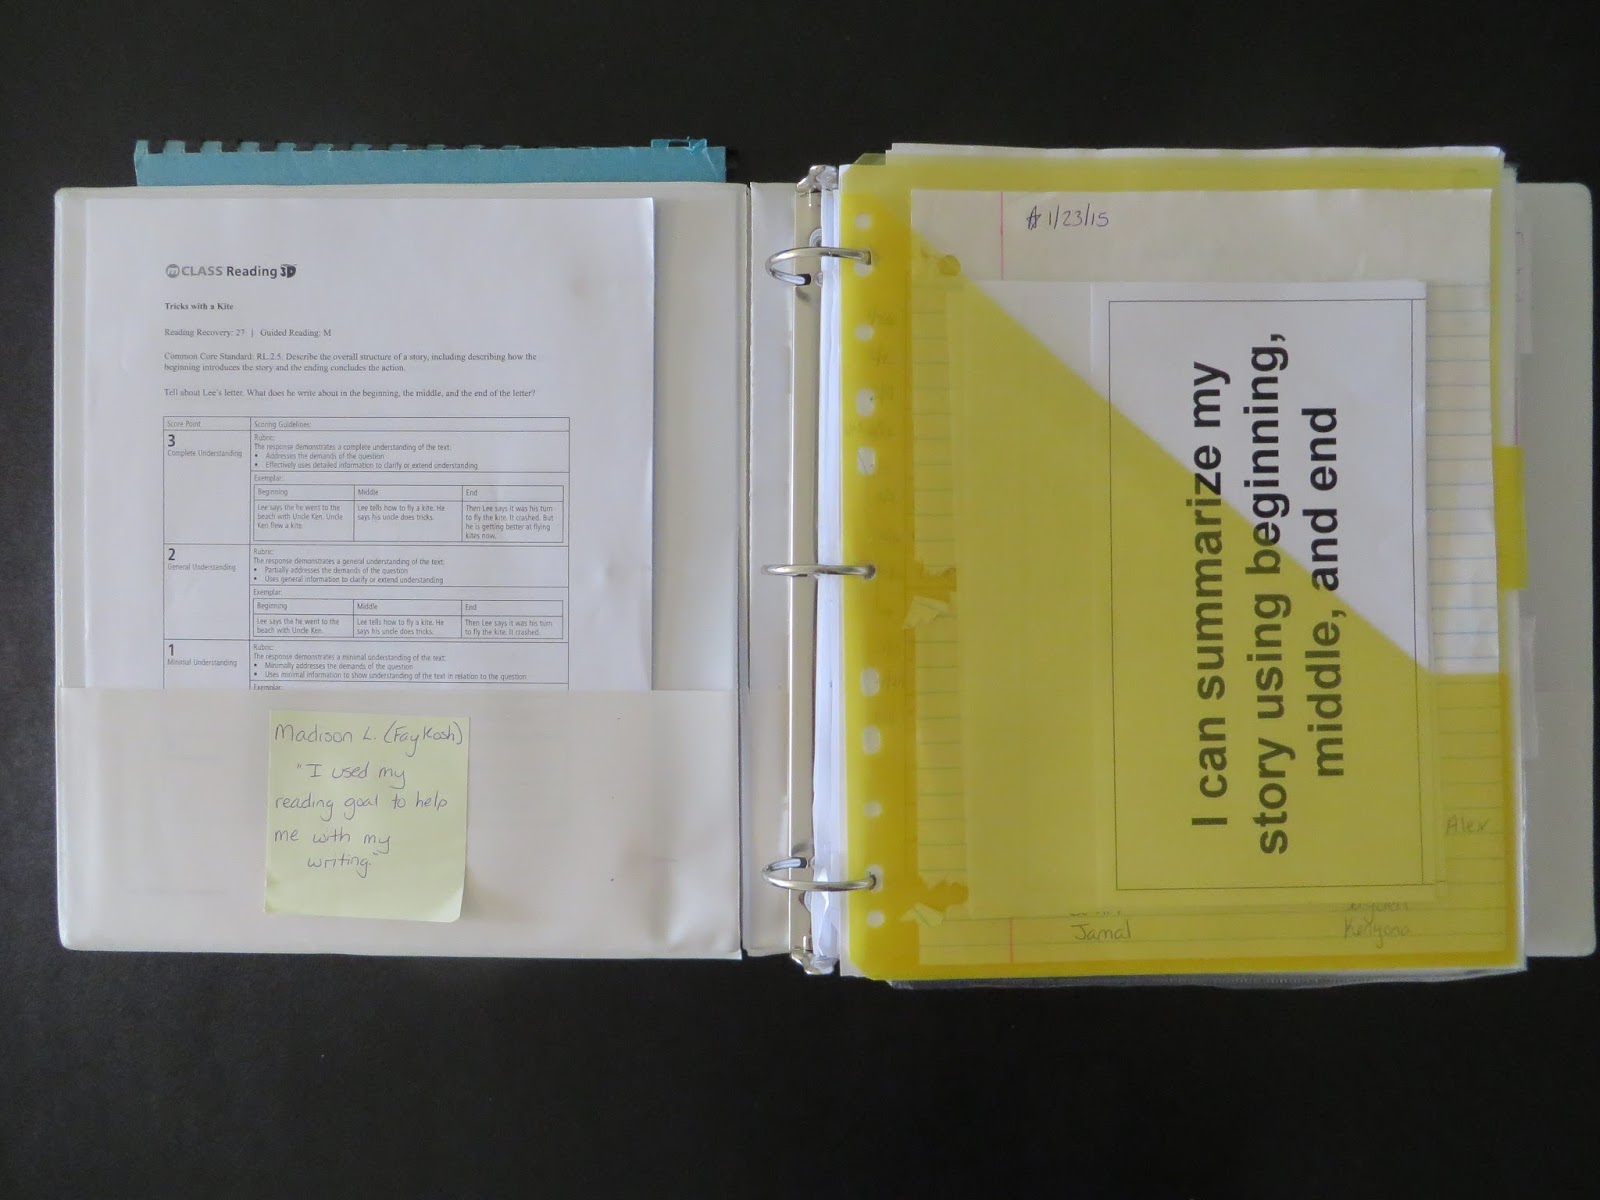
We used Read 3D testing, so when you open my notebook up, I have some of the Read 3D scoring guides in my left pocket. I refer to these when doing written comprehension with my students so I can make sure they are on track. On the right side, I have the SIOP goal for my lesson.

On the back side of the pocket, I keep any handouts I'm using for that group. This one has a passage from ReadWorks that we were working on that day. The right side has a page where I track the books each group reads and the level, as well as the sight word/vocabulary word and word work for that book. 


When you turn the page, I have students reading goals. I cut up sticky notes, wrote students names, and stuck it on their goal. 


On the back of the reading goals, I have writing goals for students. 

Then, all of their lesson plans are next. 


Sample anecdotal notes- please excuse the messy handwriting!! I write quick when taking notes!

After each group's lesson plans, I have a data sheet for each student that tracks their running records- it lists the date, book, level, score, SC, MSV, fluency score and comprehension score.


I also have a pocket for Read 3D data. I refer to this when making my guided reading plans to make sure I'm working on everything that these students need to be successful. 


The back pocket of my notebook has extra handouts I have used in my lessons. 


Yes, that is duck tape for a label! This was a recycled notebook and someone had written on the plastic part so I had to cover it somehow :)


When I taught in the classroom, each student had a marble notebook for guided reading groups. I had students write the title of the book and date, and then we filled the pages with word work and written comprehension. 

As a remediation teacher, I had folders for each student. 


They kept their work in the front pocket. In the fasteners, we had a goal sheet and two data tracking graphs. 

About every month or so (sooner if I felt students were ready and longer if I didn't feel like they were ready), I gave students a reading or writing goal. Then, each time I observed them working on their goal, I'd give them a date. Once they had all their dates filled in, they got a sticker. 


Students also graphed their reading level and fluency levels each month. 

When I taught in the classroom, I kept all running records in one notebook. When teaching remediation, I found it easier to keep them in the back of each child's folder because then I had everything I needed for that child in one place for conferences with the teachers, as well as parent/teacher conferences. 


Activities we completed during fourth quarter. 

So, that's it! An unedited look into my guided reading notebook and student folders! Be sure to check out my Guided Reading Notebook Forms for FREE templates!


Also, check out my Guided Reading Tips and Tricks Flip Chart for more guided reading help!